Creating a Social Post Video with 2,000+ Pre-made Animations (Facebook Template)
To get started, click the + Create video button in the top right of your account.
Select Create without AI.
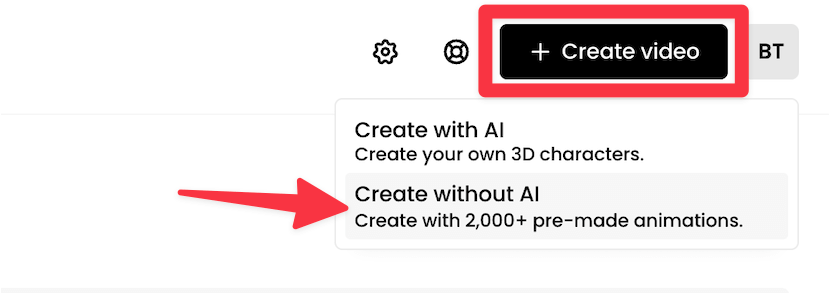
Then, click Social Post Video.
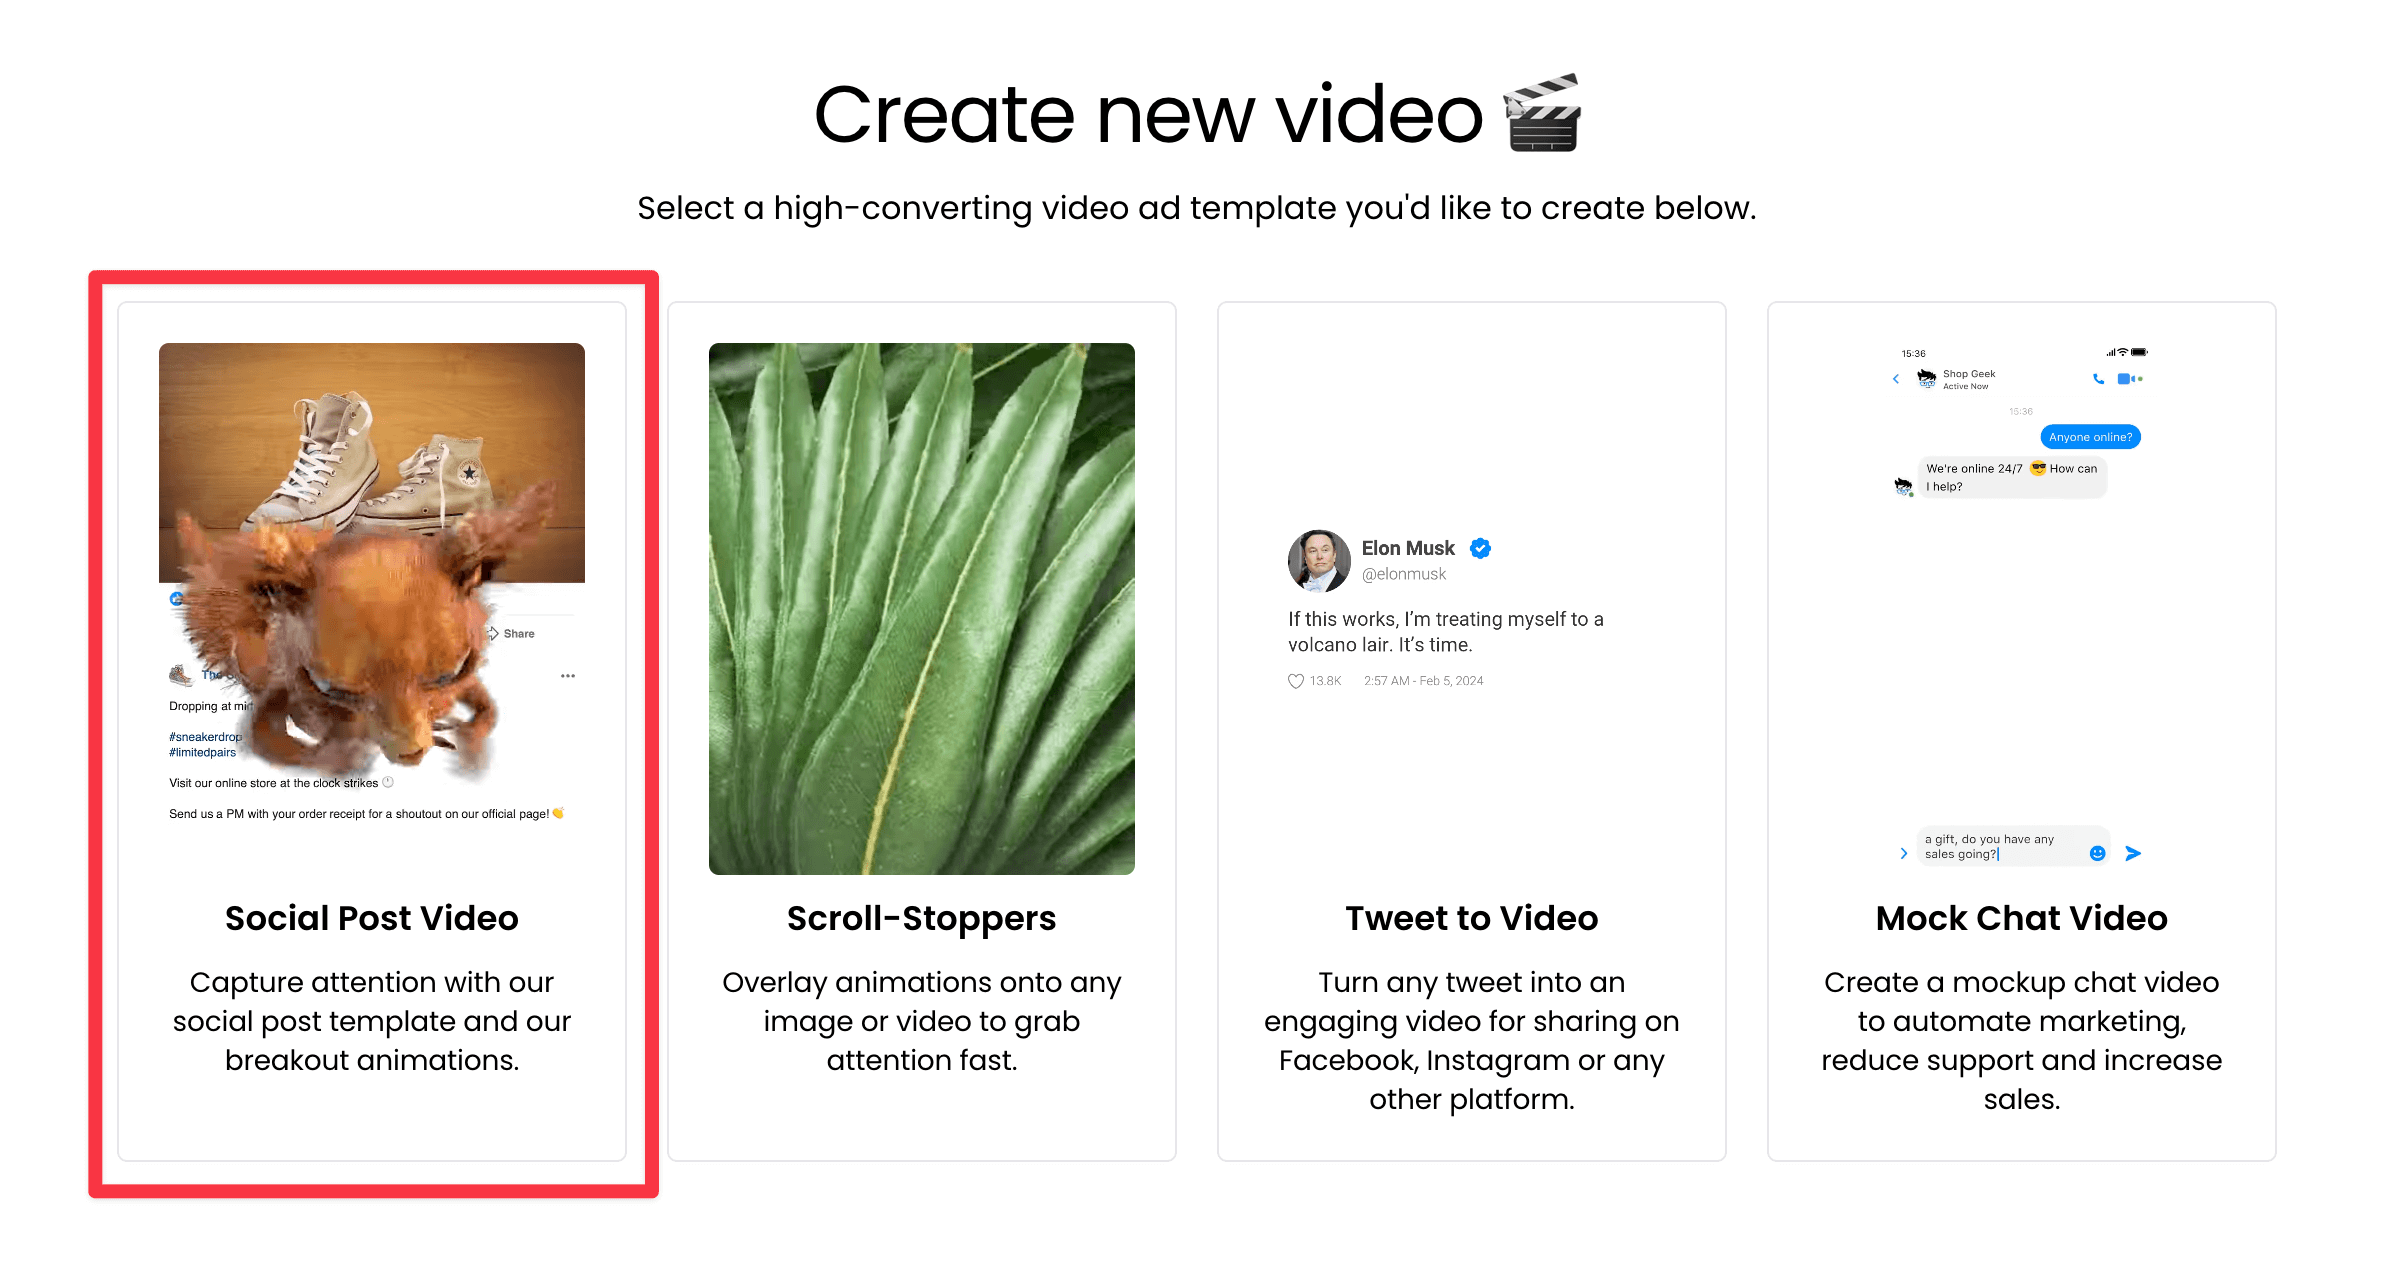
Side note: want to create a video without the social post layout? Click "Scroll-Stoppers" instead to create videos like these:

Select a template type by clicking inside any of the boxes. In this step by step tutorial, we will be covering Facebook as a template.
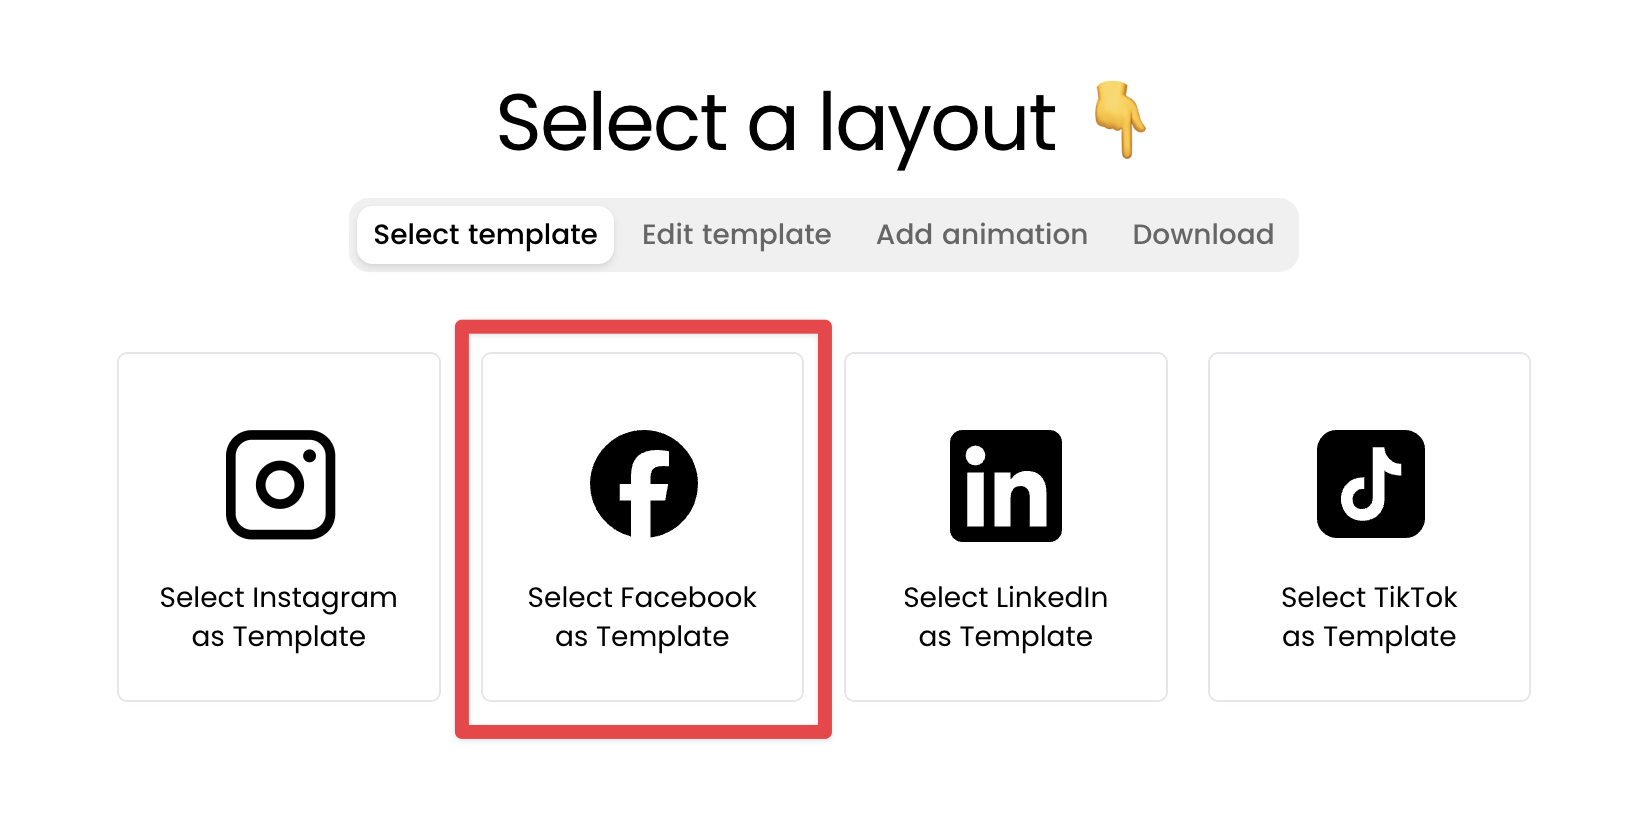
Next, you'll be shown our two layout options. Select either our normal post layout, or a split post layout by clicking inside either of the preview boxes.

After clicking inside the layout box you'd like to customize, you'll be taken to the editor
Template Editor
You can edit your video template by clicking anywhere inside the template in the middle of the page.
Depending on where you plan to upload your Breakout Clips video, you may want to change the size (aspect ratio) of your video.
- Square (1:1) (Use for square videos on Facebook, Instagram and LinkedIn).
- Vertical (4:5) (Use for vertical videos on Facebook and Instagram).
Click here to see how to change your aspect ratio.
Click anywhere inside the post to begin customizing with your own image, text, etc!
Here's how each part works:
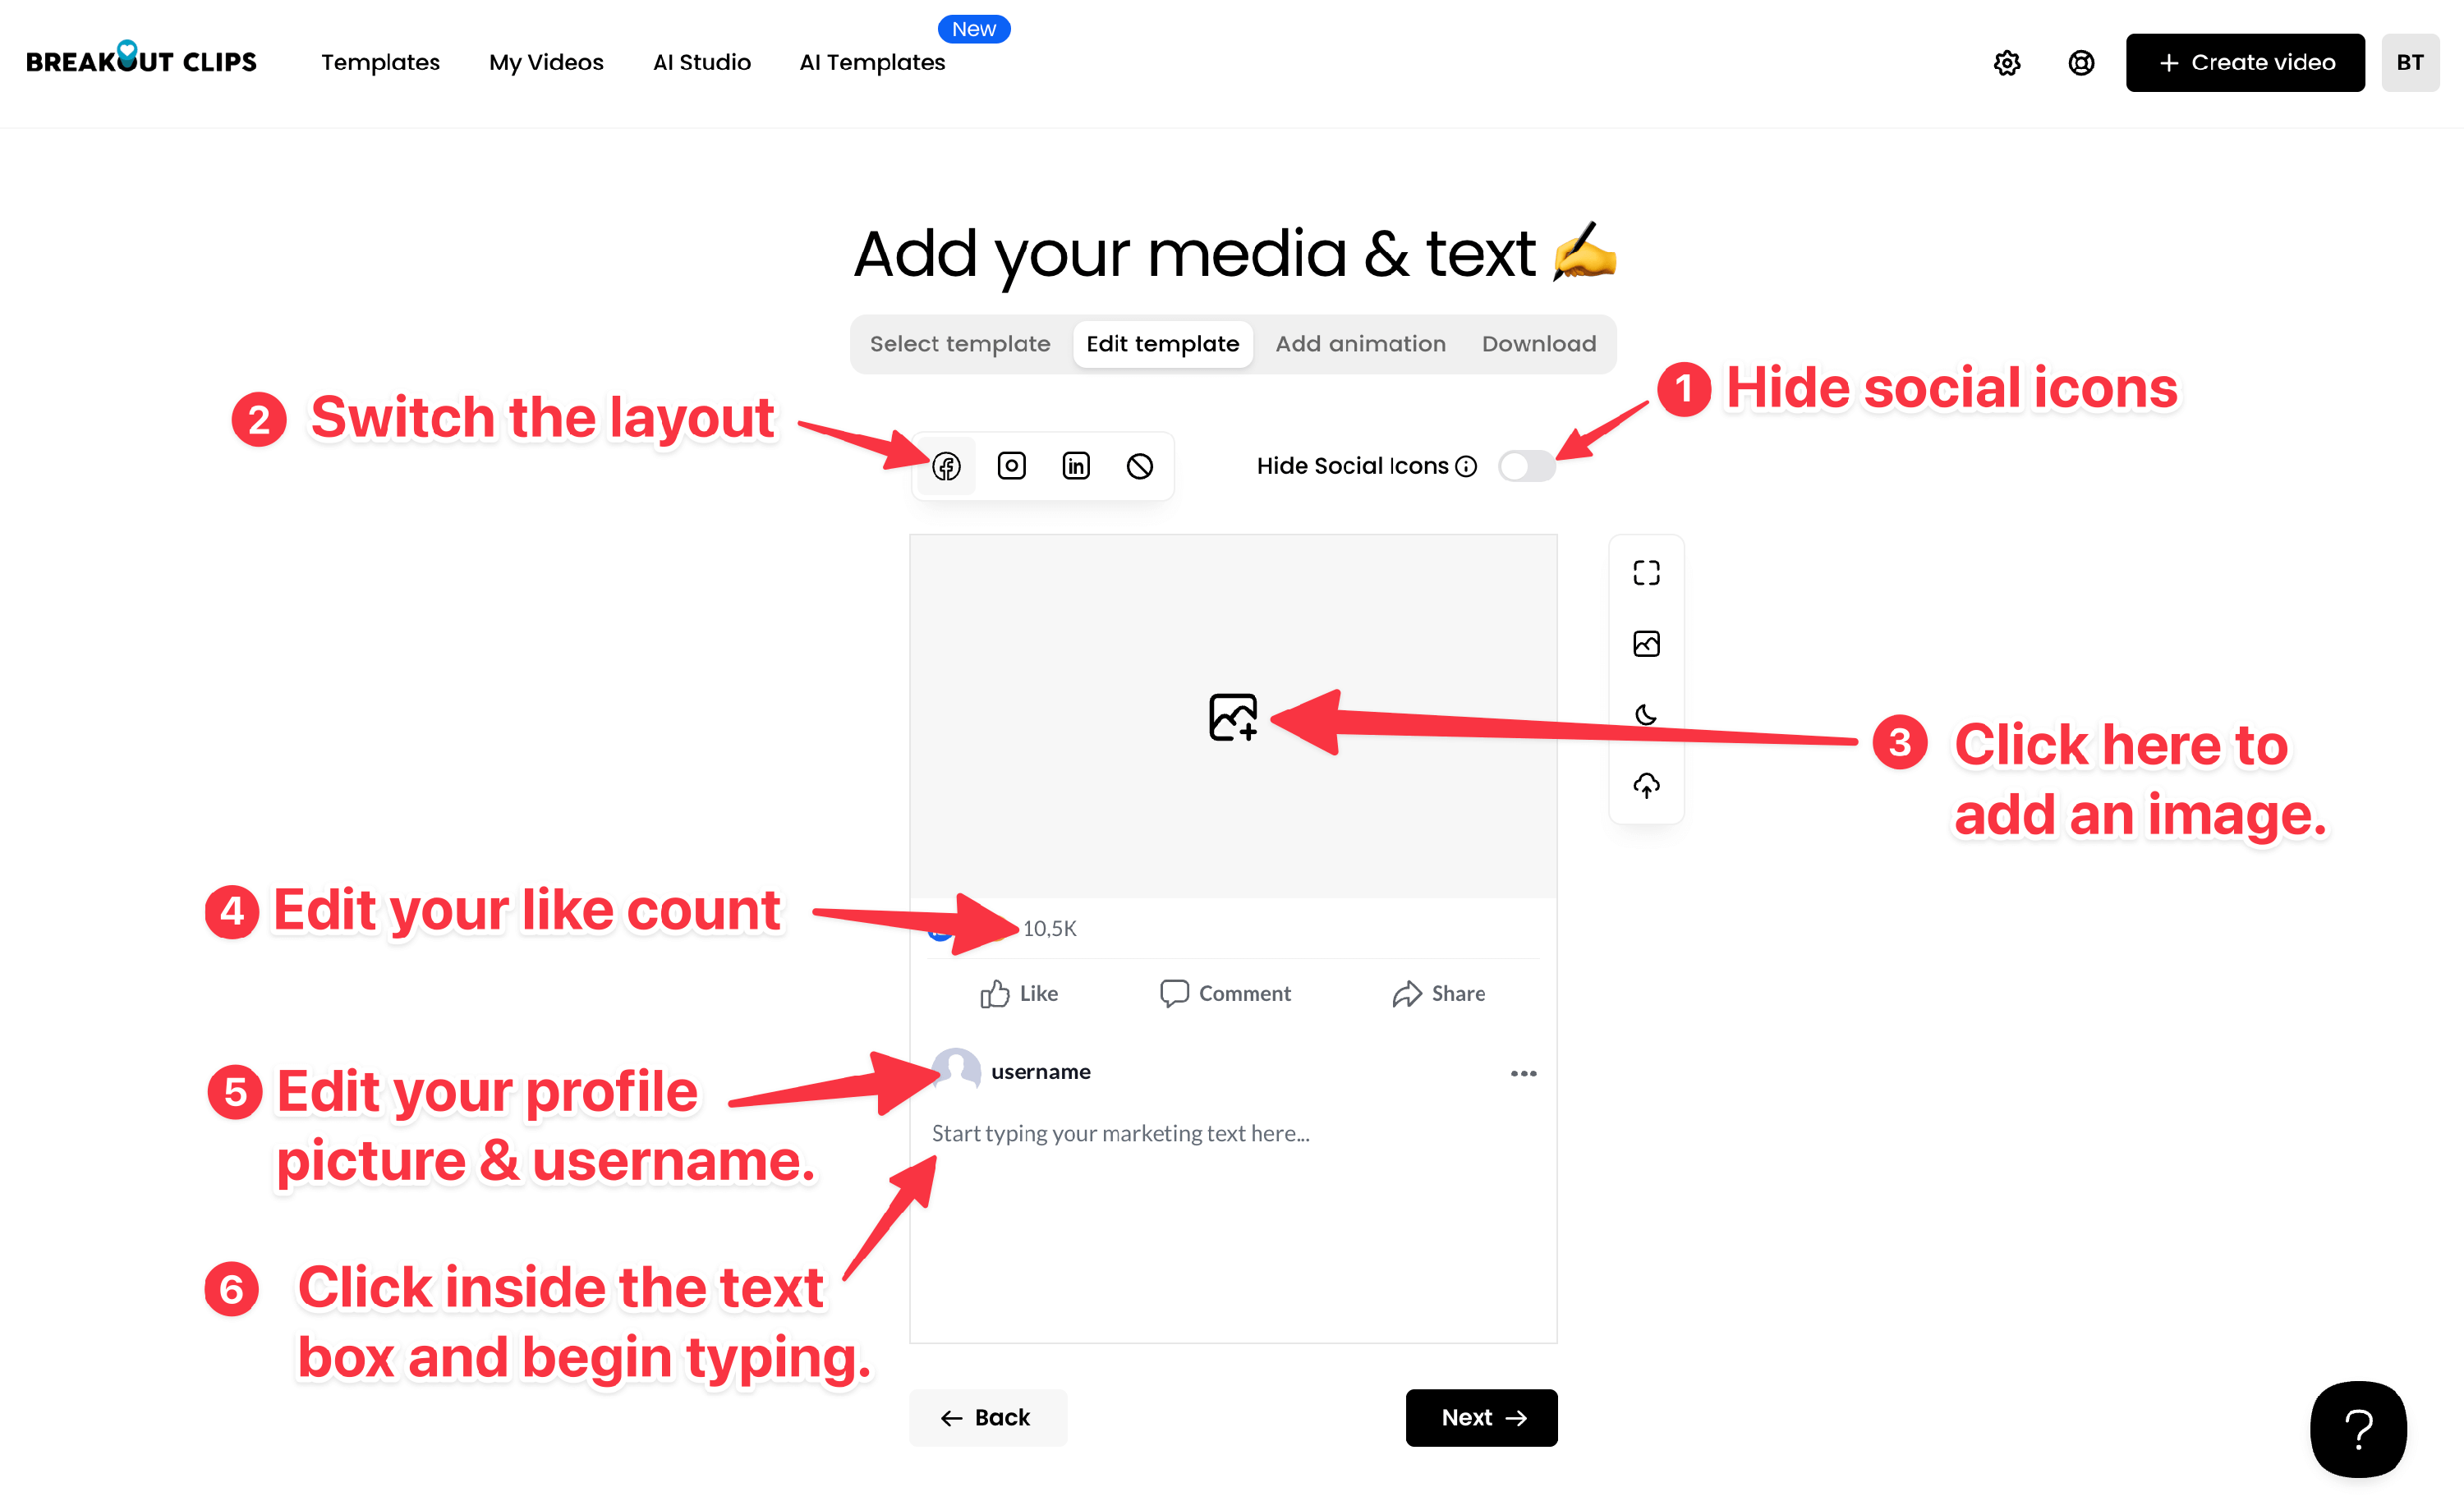
Hide Social Icons
Are you planning to run your video with Facebook/Instagram Ads?
If so, don't forget to switch on the 'Hide Social Icons' switch! This will remove any brand assets from your video so they're ad-compliant.
Important: Make sure this switch is turned on if you want your video ad to be approved for advertising on Facebook and/or Instagram.
Here's an example of how it works.
So depending on whether you're going to be using your video for paid advertising or not, you have the choice to use that mode.
Switch Template Design
You can click any of these icons to swap out the selected social network layout. Did you pick the Instagram layout by mistake? Switch it to a Facebook layout in 1-click. 🎉
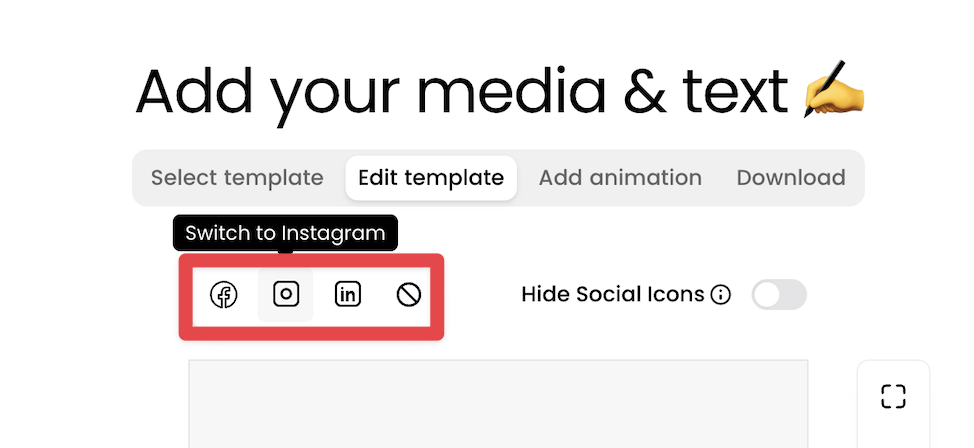
Furthermore, if you are editing a template from our template library, but it's an Instagram template and you wanted a Facebook template, you can use this switch to swap it in 1-click (you may need to reduce your text to accomodate a switch in layout - considering each layout has a different amount of space for text).
Image
Click inside the image section of the template and a pop-up will appear. You can upload your own image, or you can click the Search tab inside the pop-up and search for an image by keyword to use inside your post template.
Once you've selected or uploaded an image, our image crop step will appear.
Here you'll be asked to crop your image to fit within the post.
When you're happy with how your image looks, click the Done button and it'll be inserted into your post template.
Like Count
Click inside the like count number and type how many likes you'd like to be displayed.
Our post template will automatically format your number, so don't worry about using commas when typing this number.
Username & Profile Picture
Click inside the 'username' default text, delete the existing default username and begin typing your own desired username. Simply click on the default profile picture to replace it.
Post Description
Click inside the post description box (where it says "Start typing your marketing text here...")
You can begin typing your message here.
We have a guide on how to write compelling descriptions here.
You have complete freedom to include any marketing message here. Have a coupon deal running? A new product launching? A new store opening? A new item on your menu? Let your audience know about it here.
Here's a quick video walkthrough of how the text formatting toolbar works (click here to learn more).
Dark Mode
Click the Dark Mode icon in the right toolbar to turn your video into a dark mode video!
---
When you're done formatting your post, scroll down below the editor and click on Next.

Now you're able to add your animation to your post template!
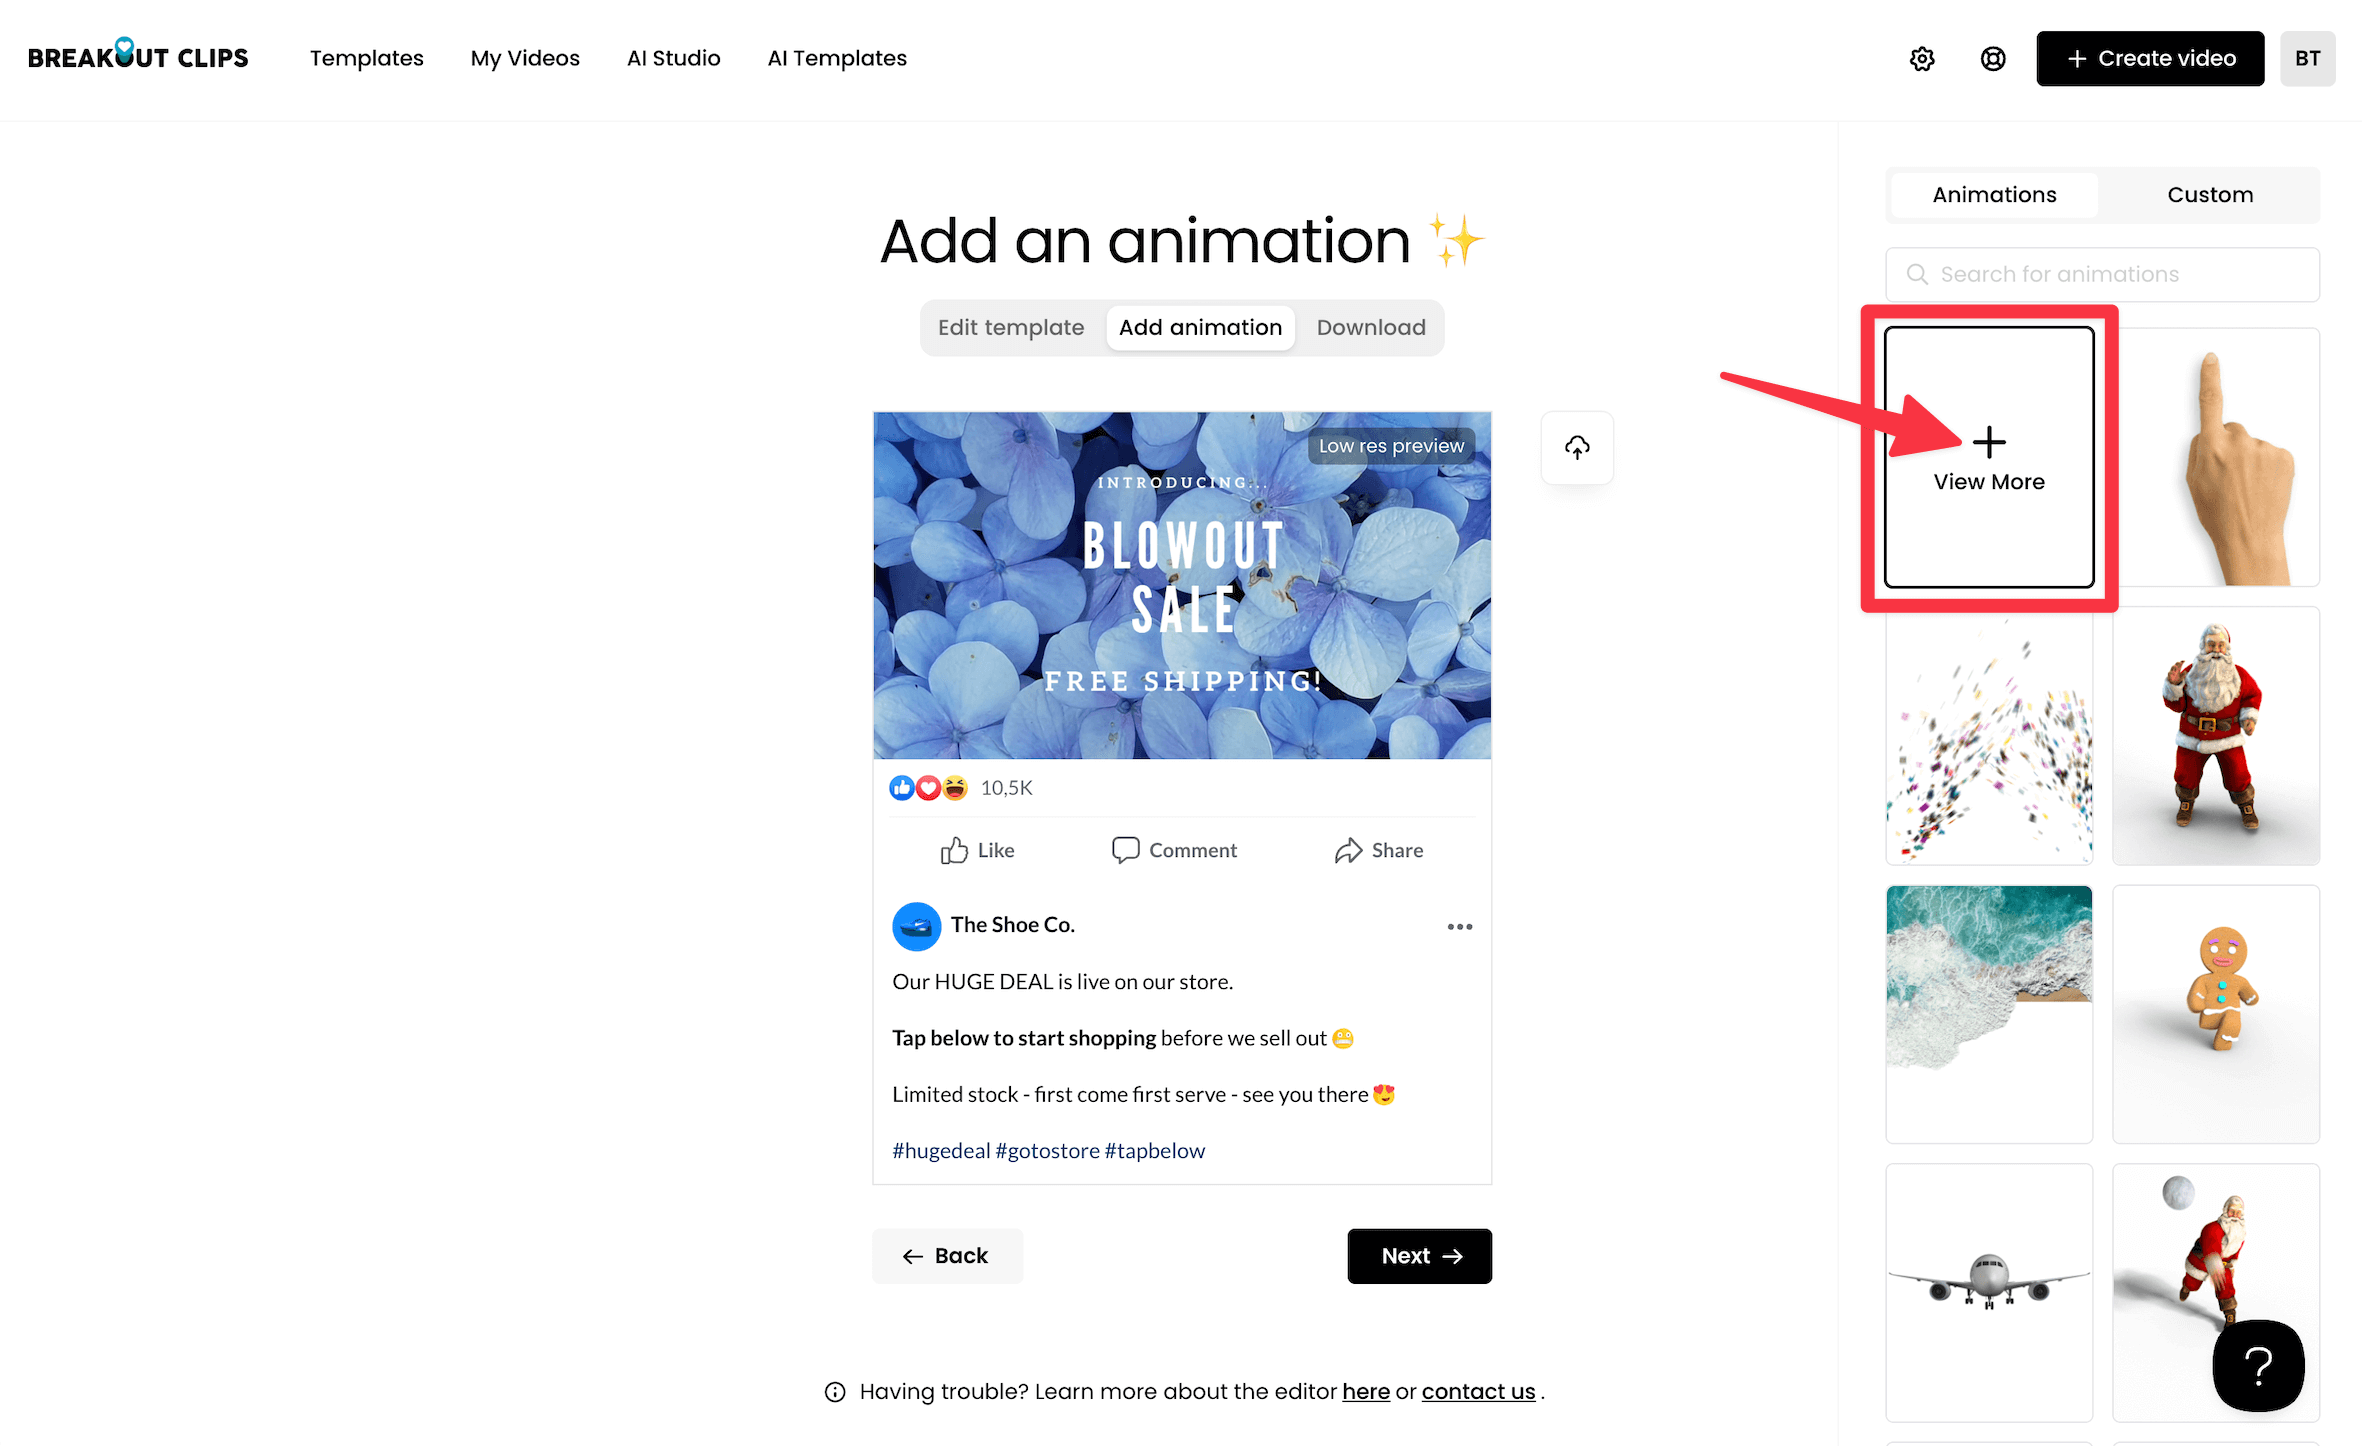
Adding Animations
On the right you'll see a sidebar showcasing all our animations (2,000+) you can use. You can search for animations by keyword, or click the first thumbnail ("View More" as shown below) to browse our full library.
Please note that the animations you see will be different depending on whether you selected a normal post layout, or a split-post layout. Each animation is specifically designed to fit your selection.
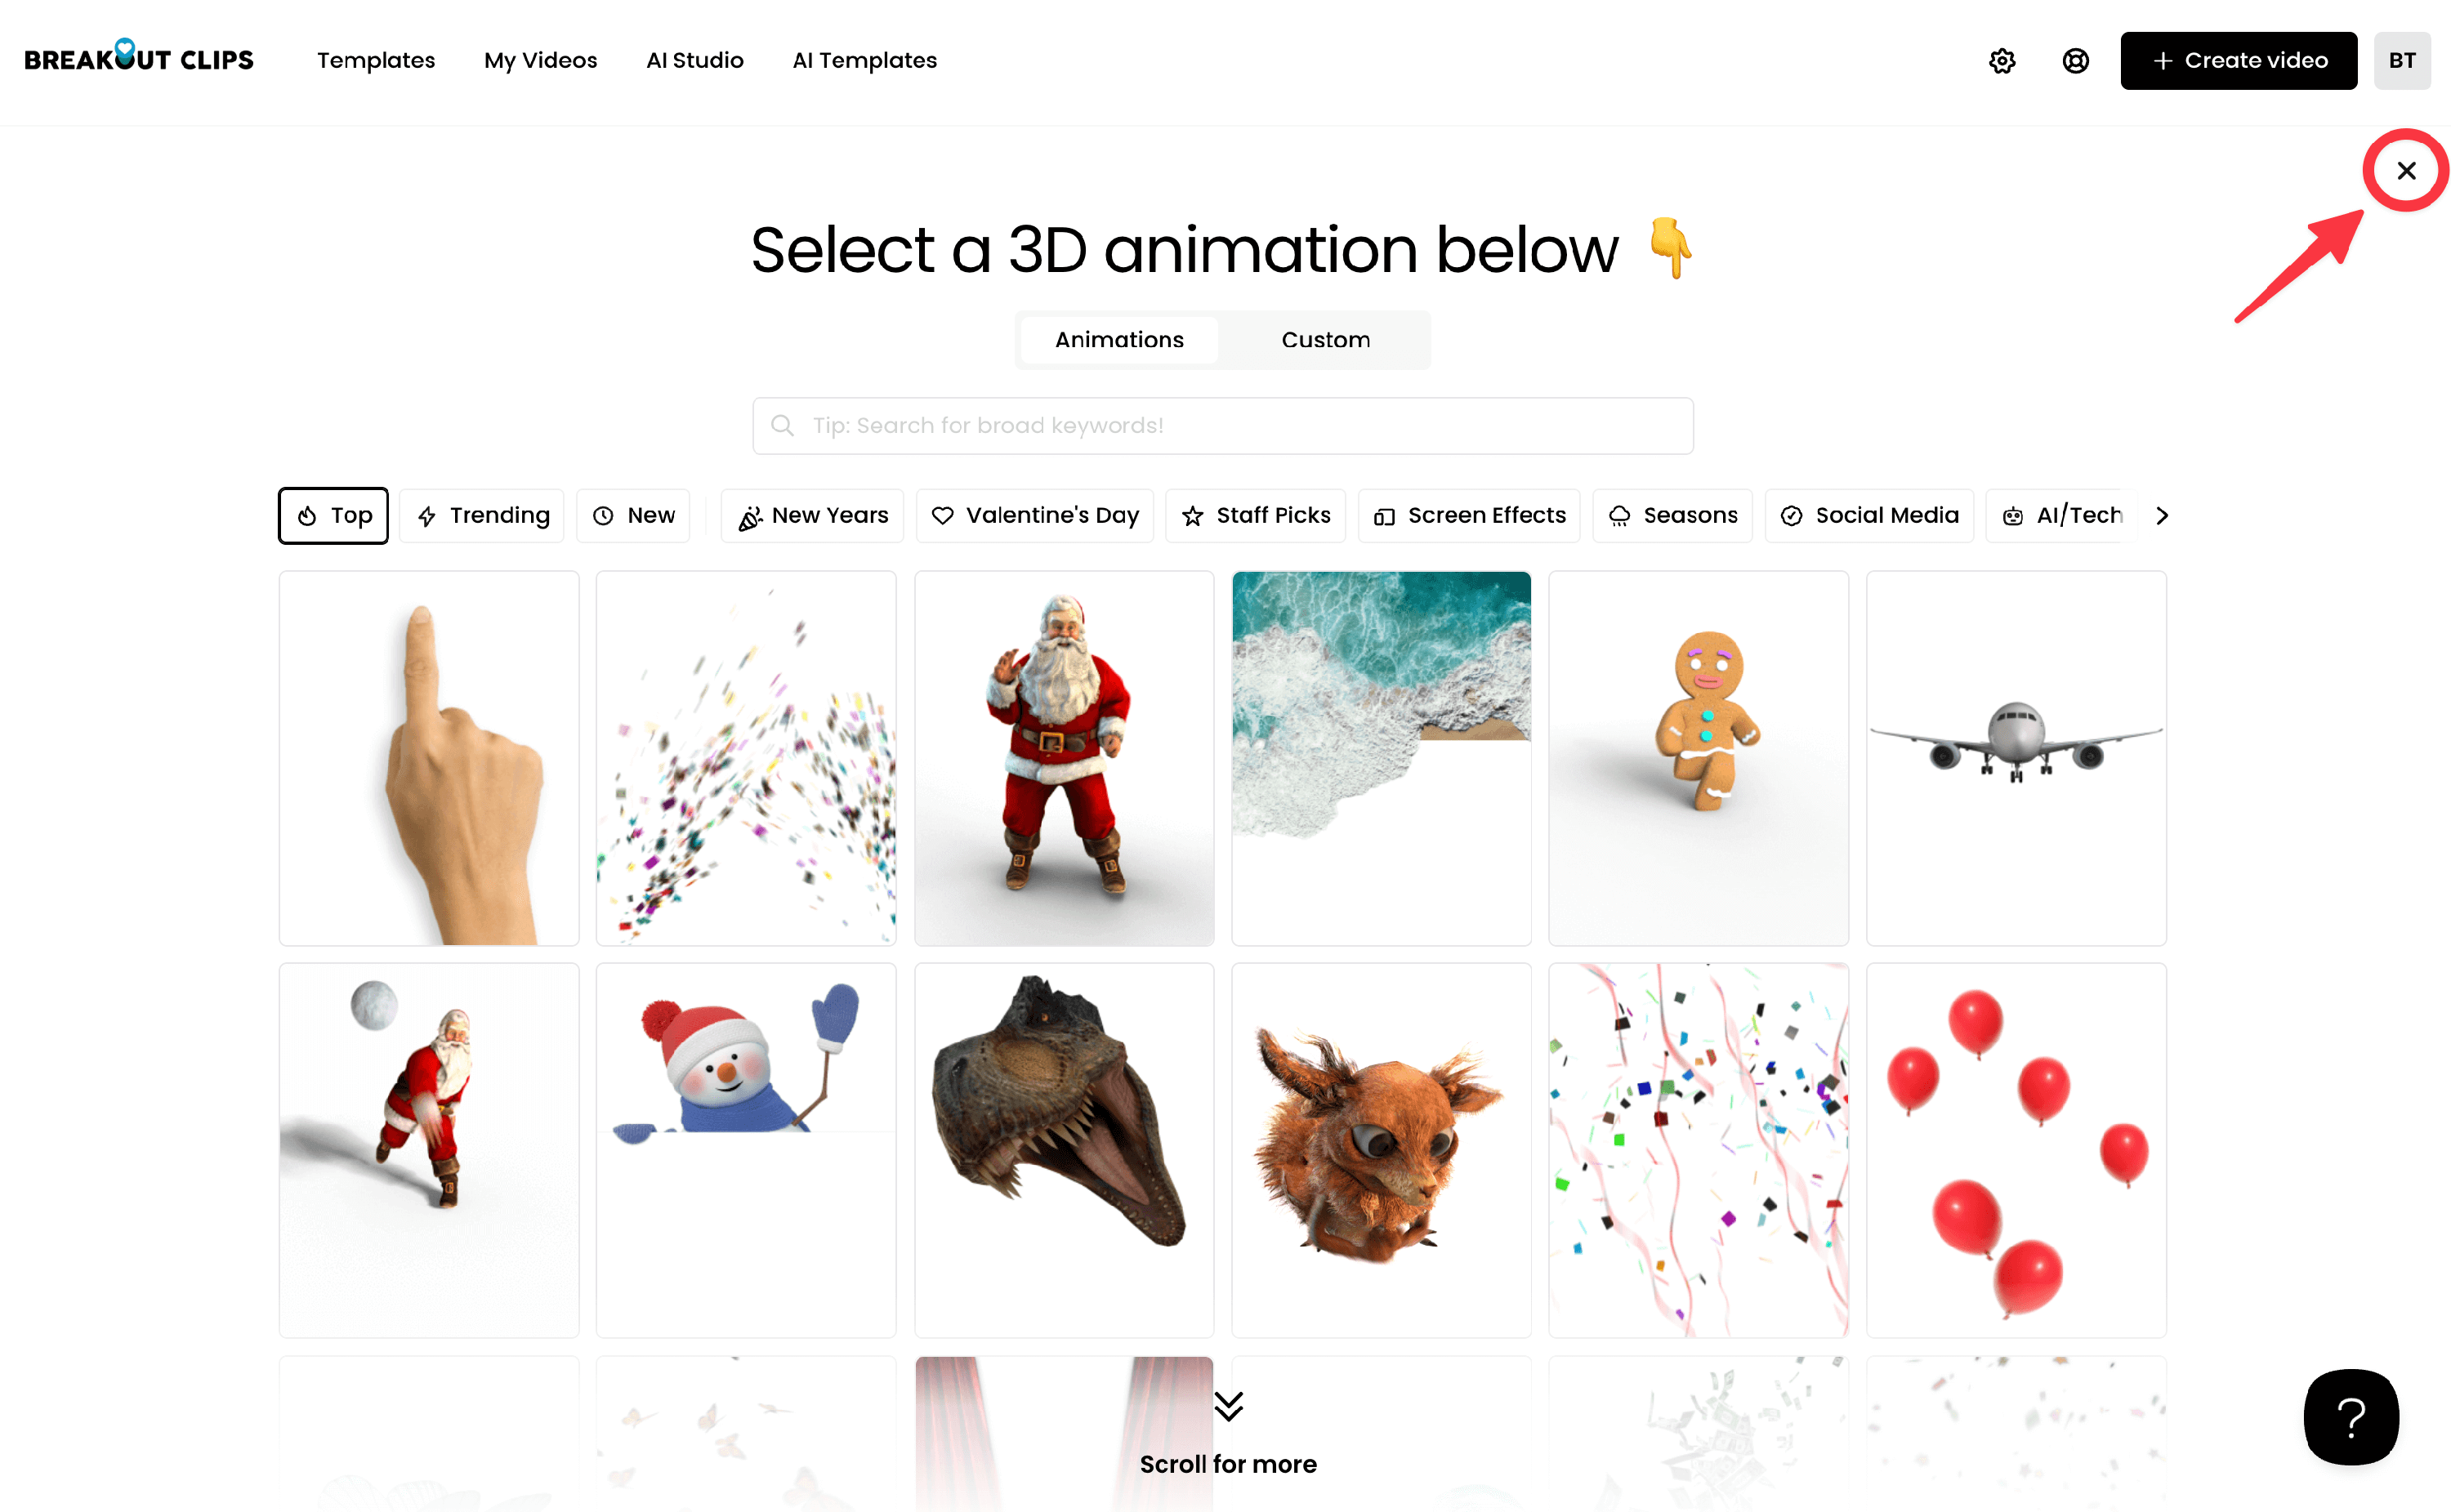
Hover your mouse over any of the animations for 2-3 seconds a full preview will begin playing.
Click on any animation to select and apply it to your post template, or click the "close" icon in the top right corner of the page to return to the previous view.
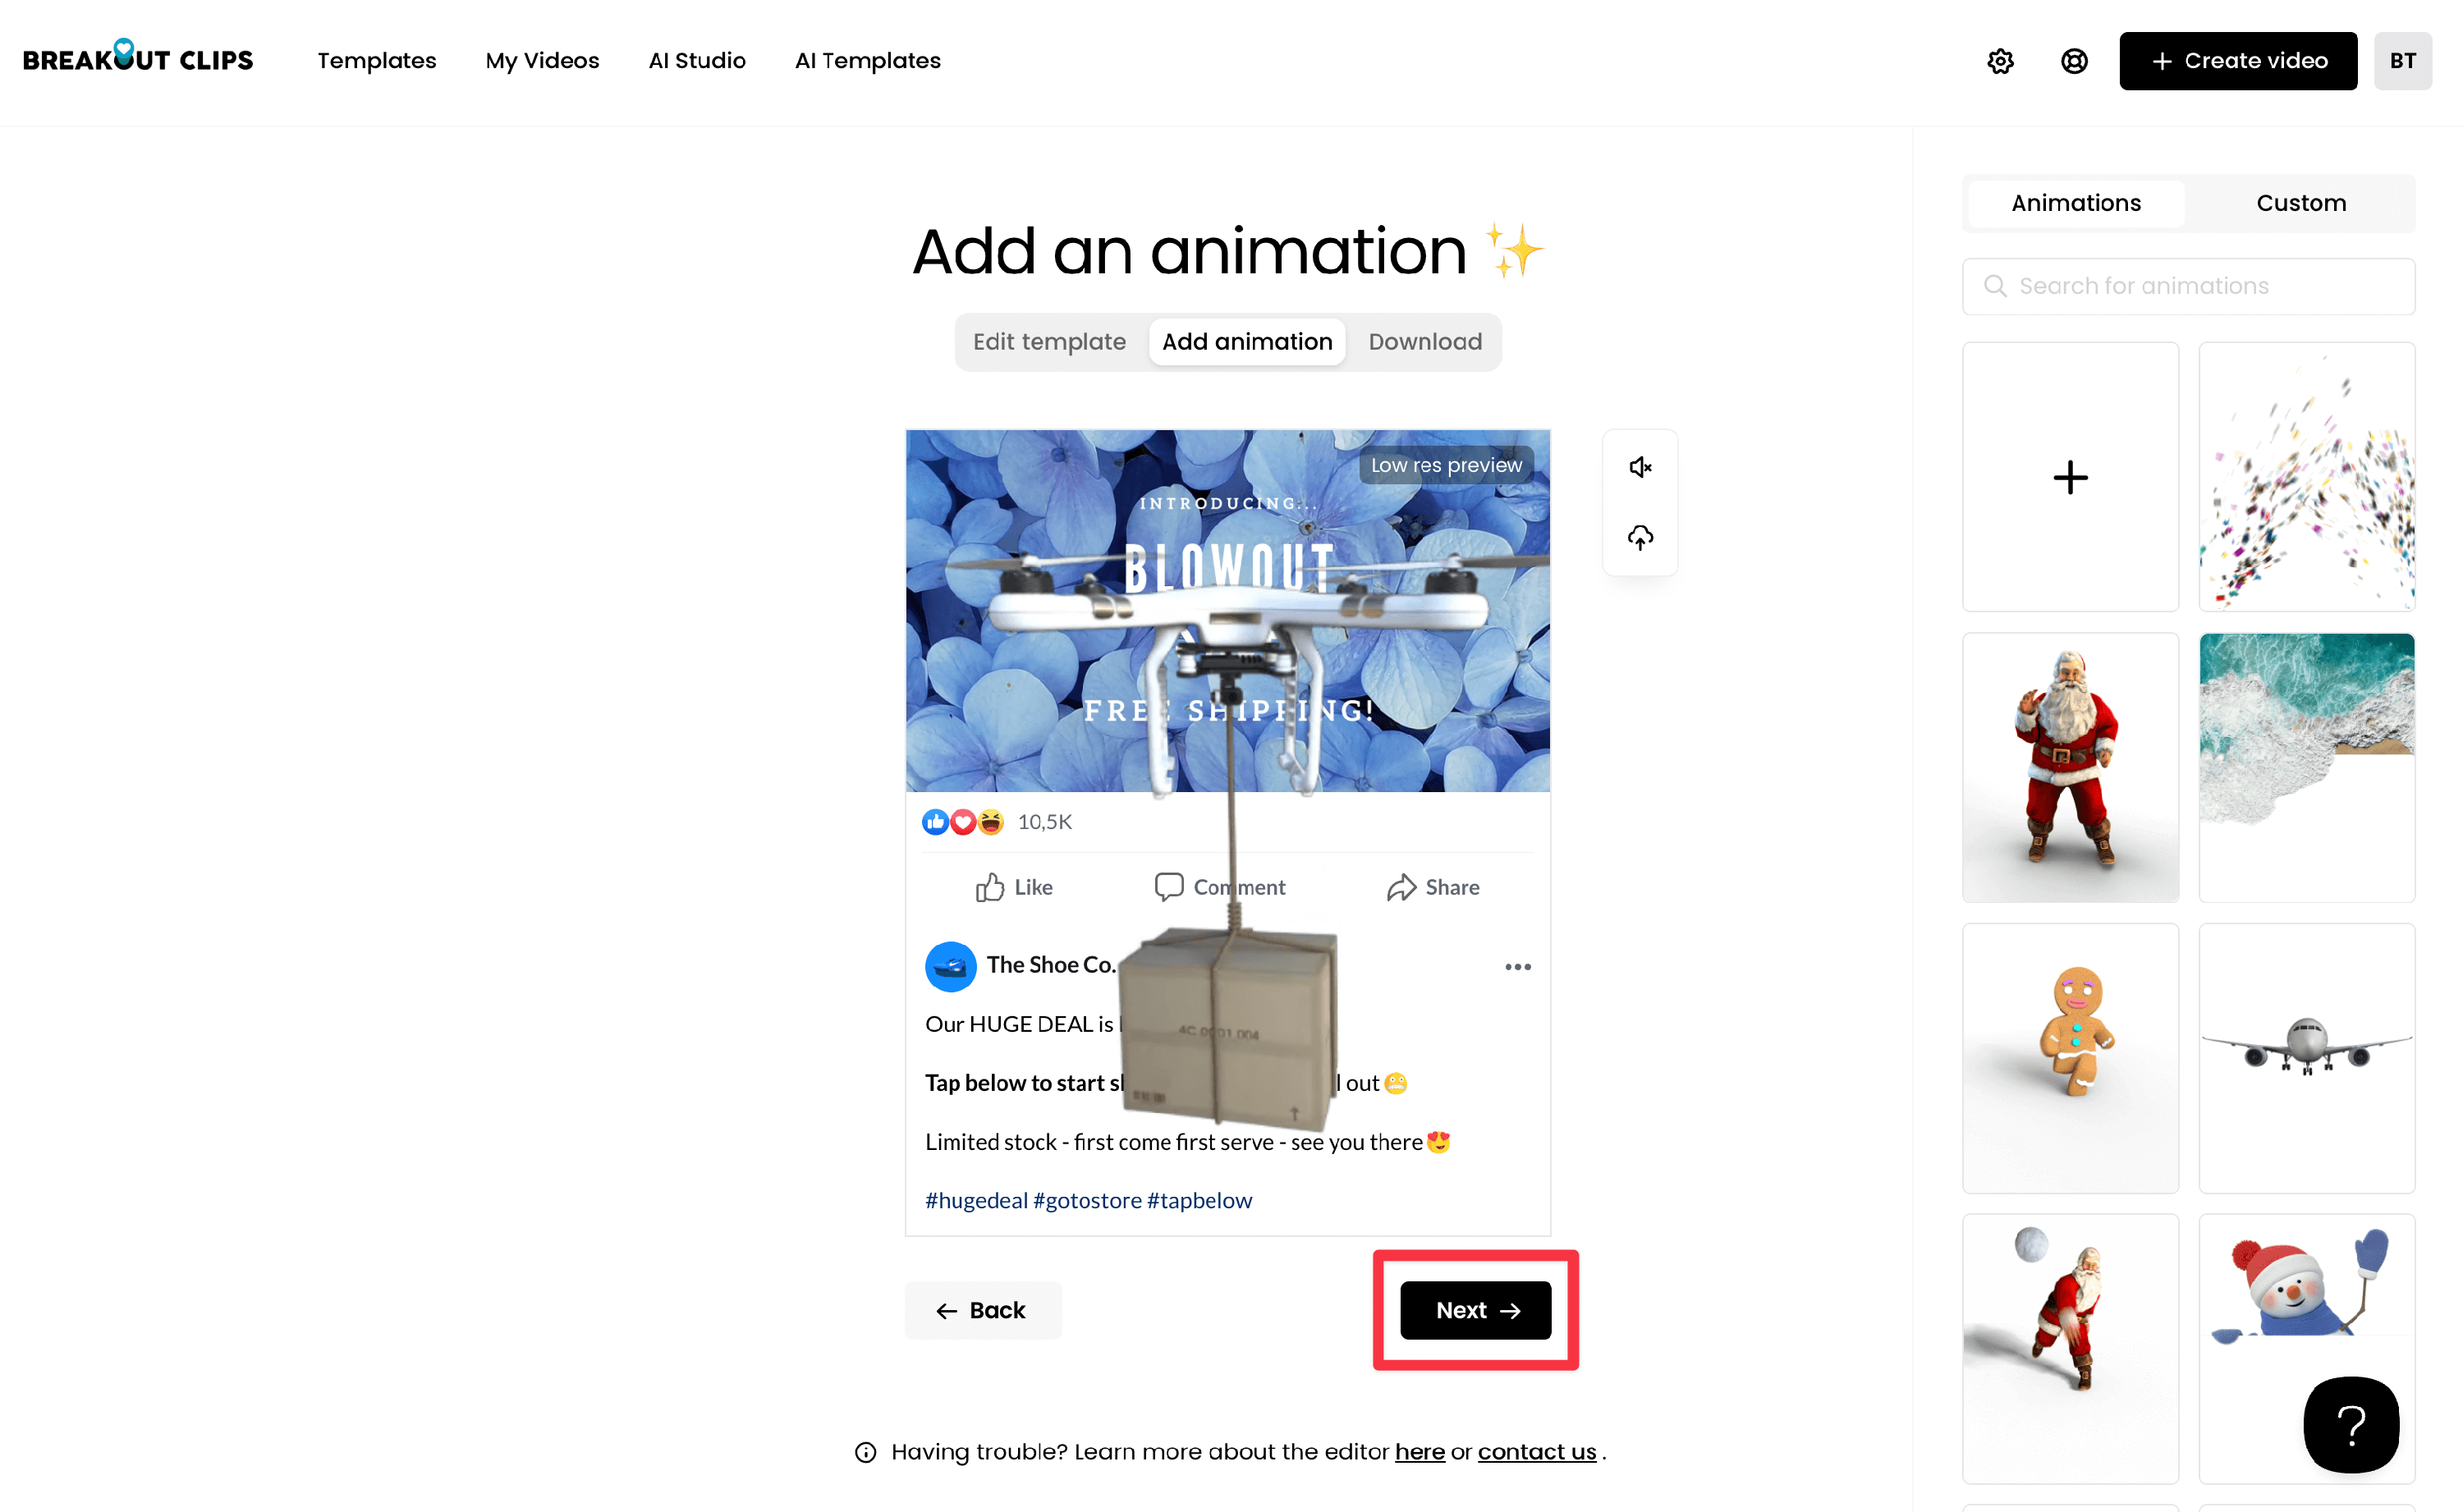
When you select an animation, it'll be added to your post template preview and you'll be able to see exactly how your video will look before it's rendered.
If you want to turn off the animation's sound effect, click the sound icon in-between the next and back buttons below your video (see more detailed instructions on that here).
Once you're happy, scroll down below the editor and click on Next.
Click the Start Rendering button.
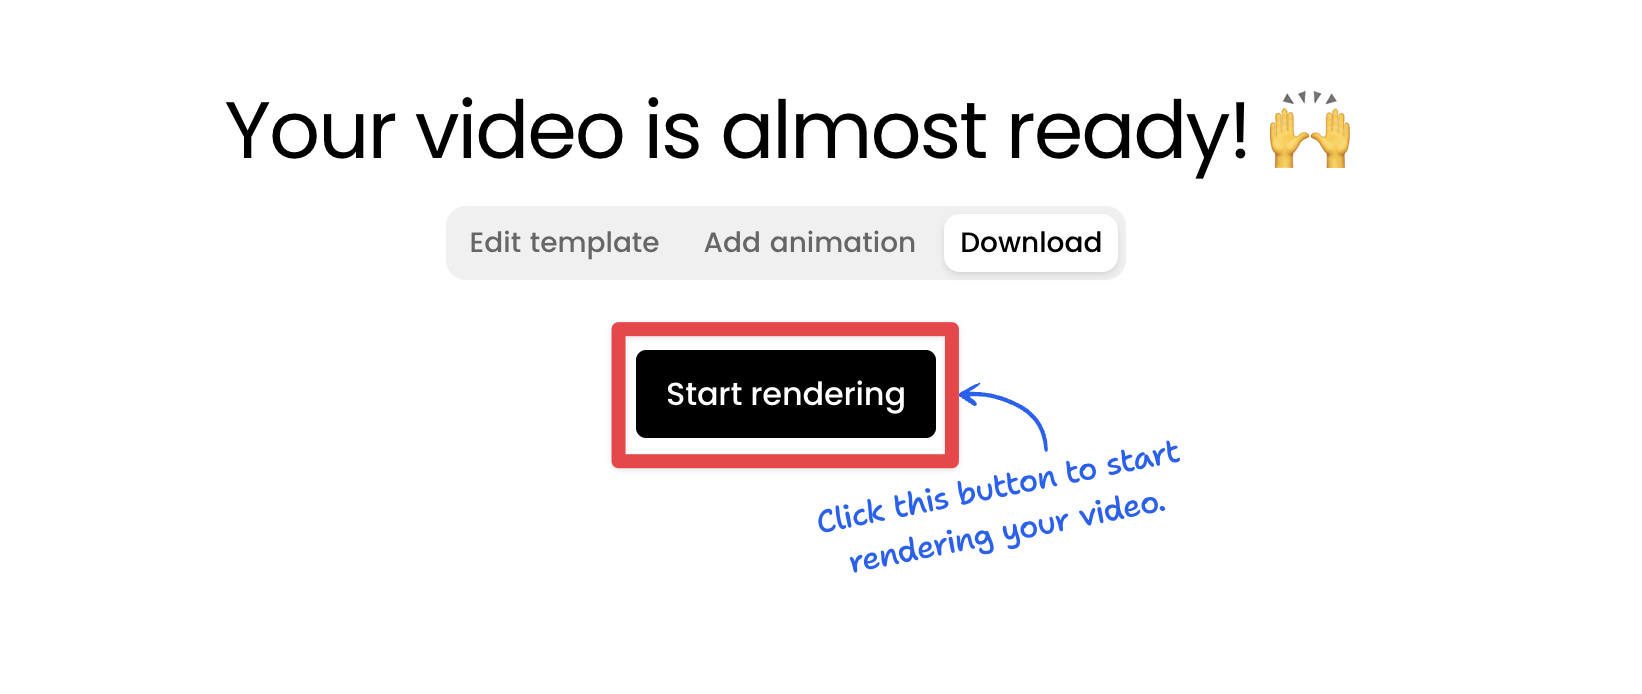
Your video will begin rendering. Depending on your video template edits and our current rendering queue this should be done in under a minute.
Feel free to create a different video in the meantime while you wait, your video's rendering progress will be available on your dashboard (click "My Videos" in the top navigation menu to go to the dashboard).
When your video has finished rendering, you'll be shown an option to download your video file.
Click Download.
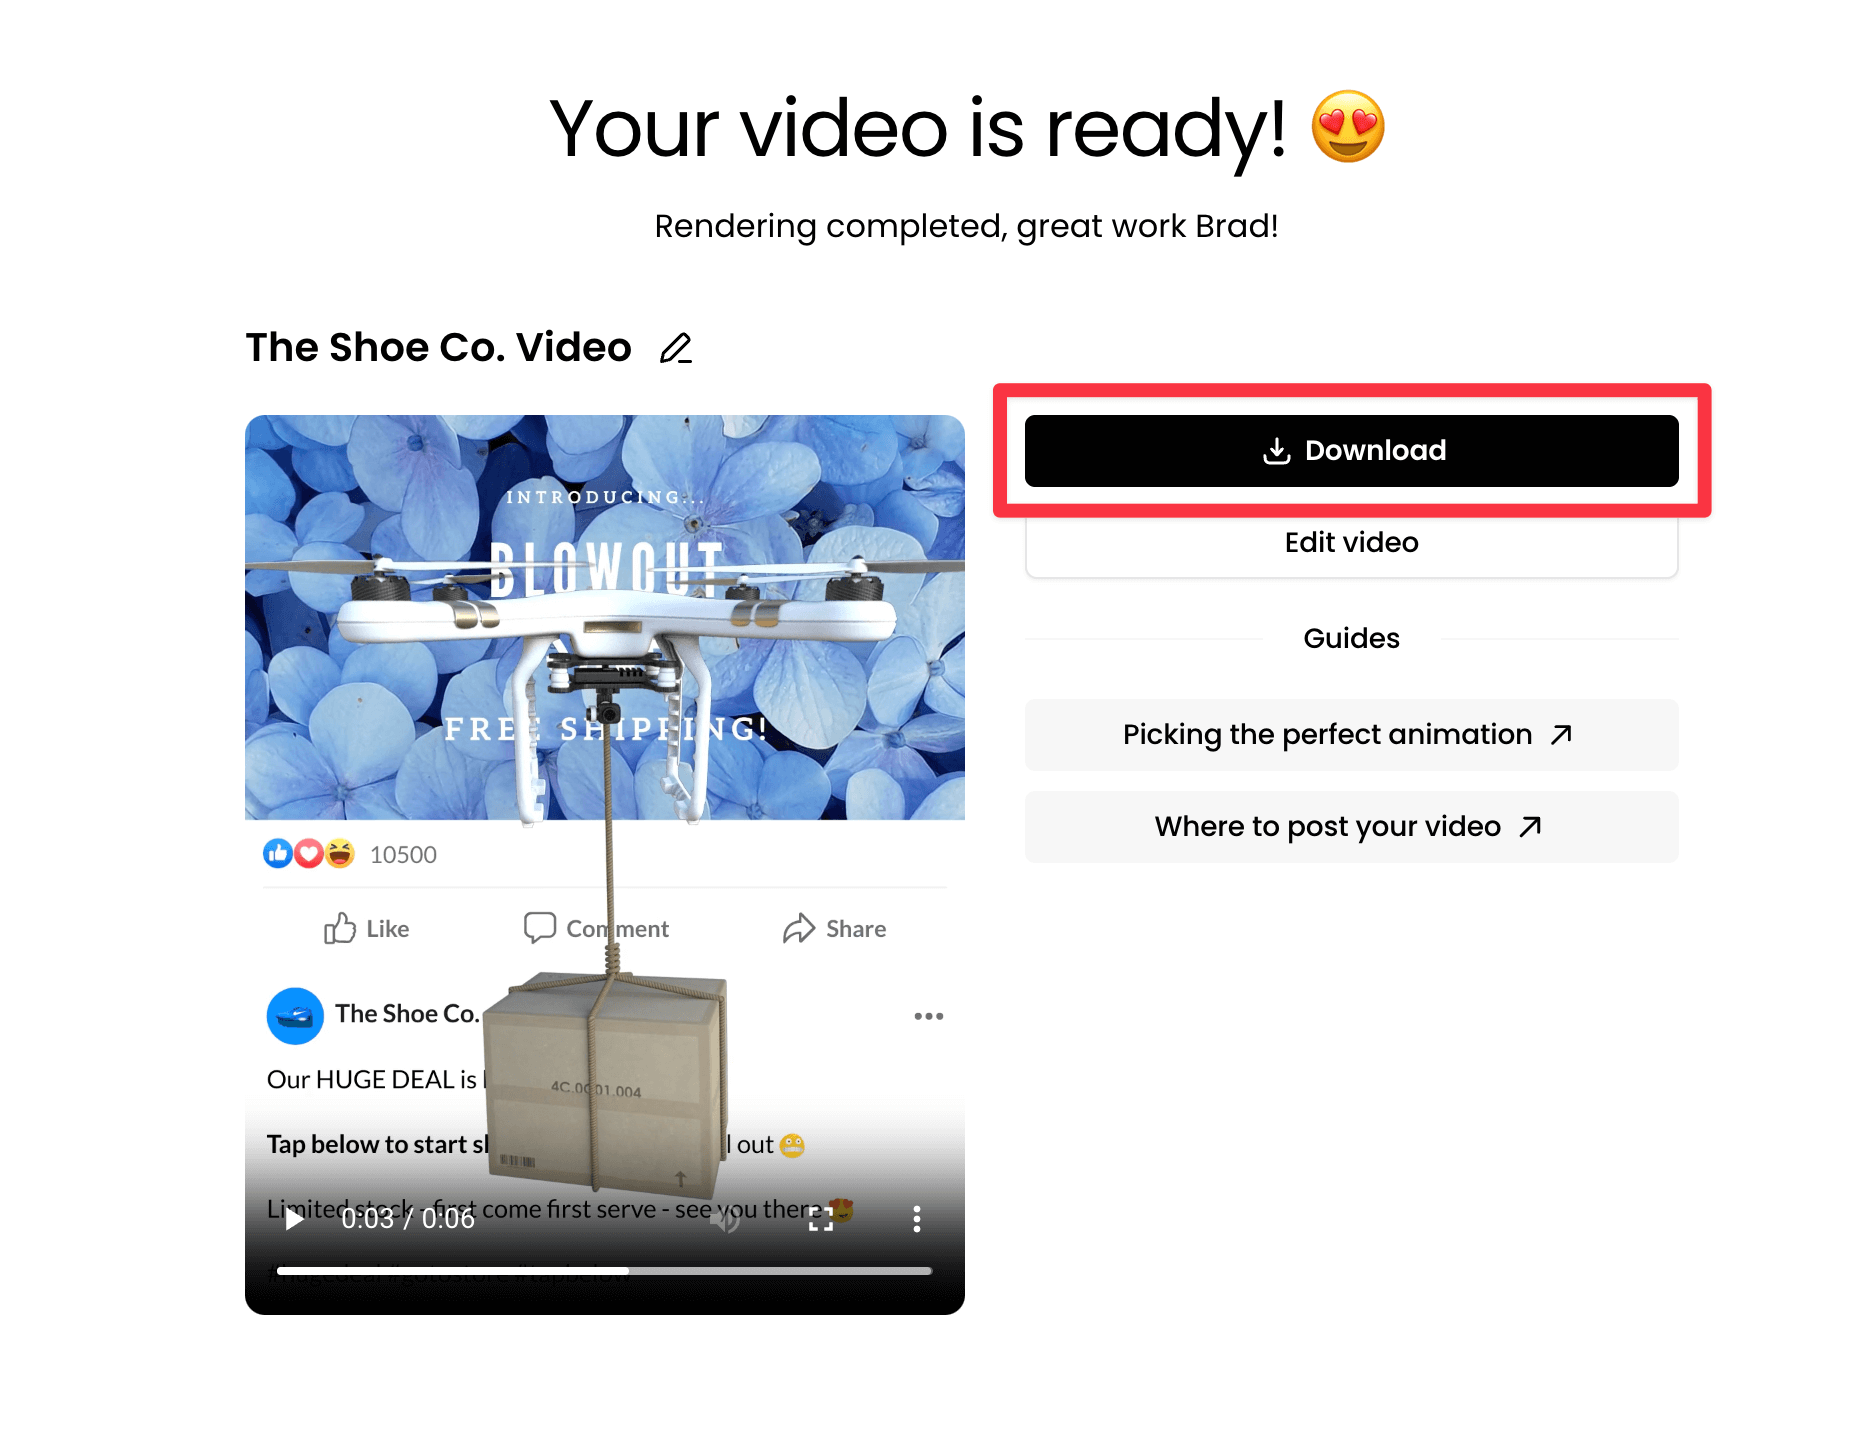
Now you can upload your new video file anywhere! 🙌
We have tutorials that showcase how to (step by step) post your Breakout Clips videos to social media:
- How can I post my video to Facebook?
- How can I post my video to Instagram?
- How can I post my video to LinkedIn?
Other places that these videos can used include:
- Your website
- eCommerce store
- YouTube/Vimeo/Wistia
- Attach it to an email
- Send it inside a Facebook Messenger message
We specifically developed a very unique algorithm, so that your video files are compressed to be small in size, without compromising on quality. So they can play anywhere without any loading issues.
Thanks again for choosing Breakout Clips! 🙏
If you have any questions, please click the widget in the bottom right corner to contact us.